IPL Acoustics M1TLm Ribbon Transmission Line speaker project – Part 3
And so the project continues. We now have two MDF cabinets in their rawest form, simply glued together.
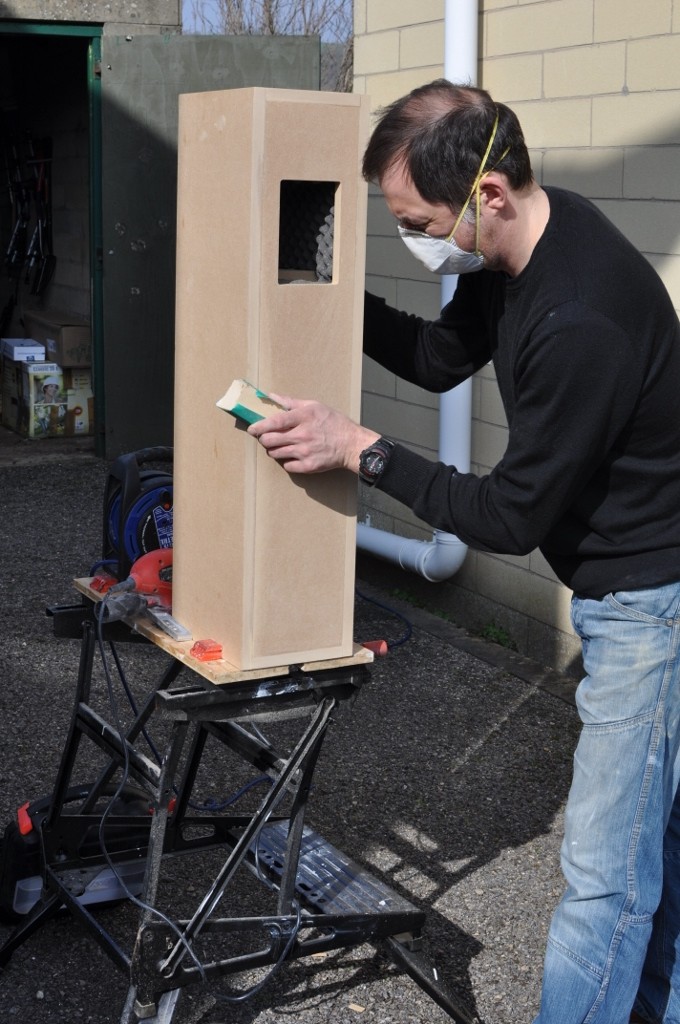
To start the next stage I forced as much wood filler into anything that even resembled a gap, as much as possible using a cheap flexible decorating scraper that turned out to be perfect for the job. Once the filler was dry I set about sanding everything as flat as I could, starting with an electric B&D Mouse before moving onto a block and paper. At this point I decided to sand some round edges to the cabinets to make them look less like they’re constructed from MDF and to make any dinks into the edges a little less obvious. I’m glad I did this and was happy with the outcome.
It’s important to use a mask whilst sanding or cutting MDF, the dust is nasty stuff and I’m told can do your lungs some serious damage.
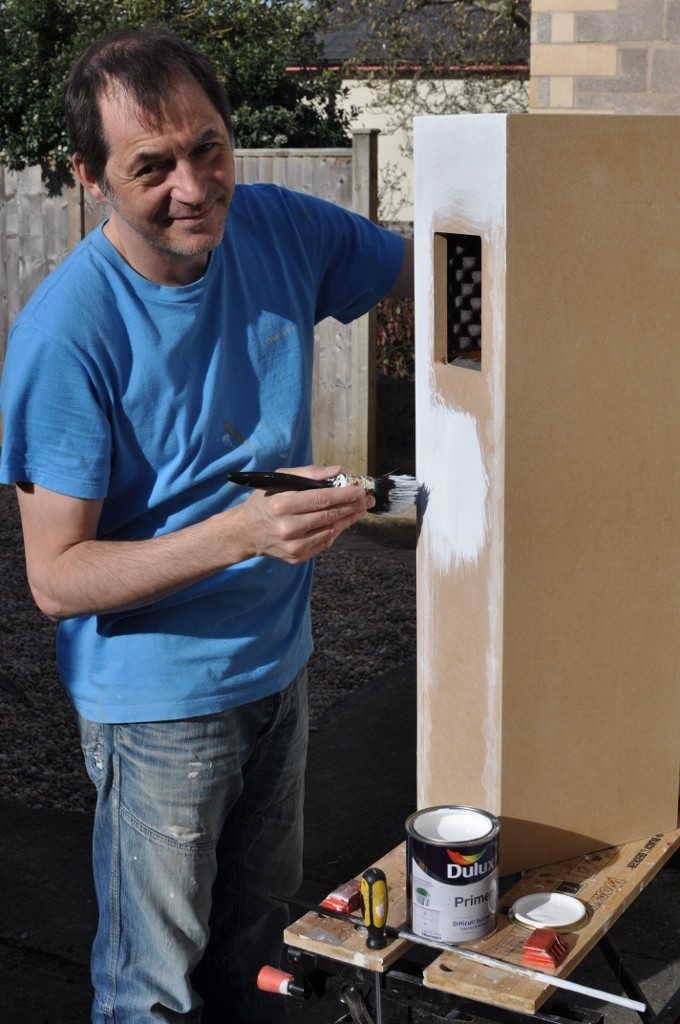
Once the sanding process was complete I used a Ronseal wood primer to seal the MDF. I wanted to get this stage right as I’d seen other projects online with the MDF cut edges clearly showing through as a different texture under the paint. To get round this I used several coats of the primer and sanding with fine paper in between. In all I must have put five coats of primer on the cabinets.
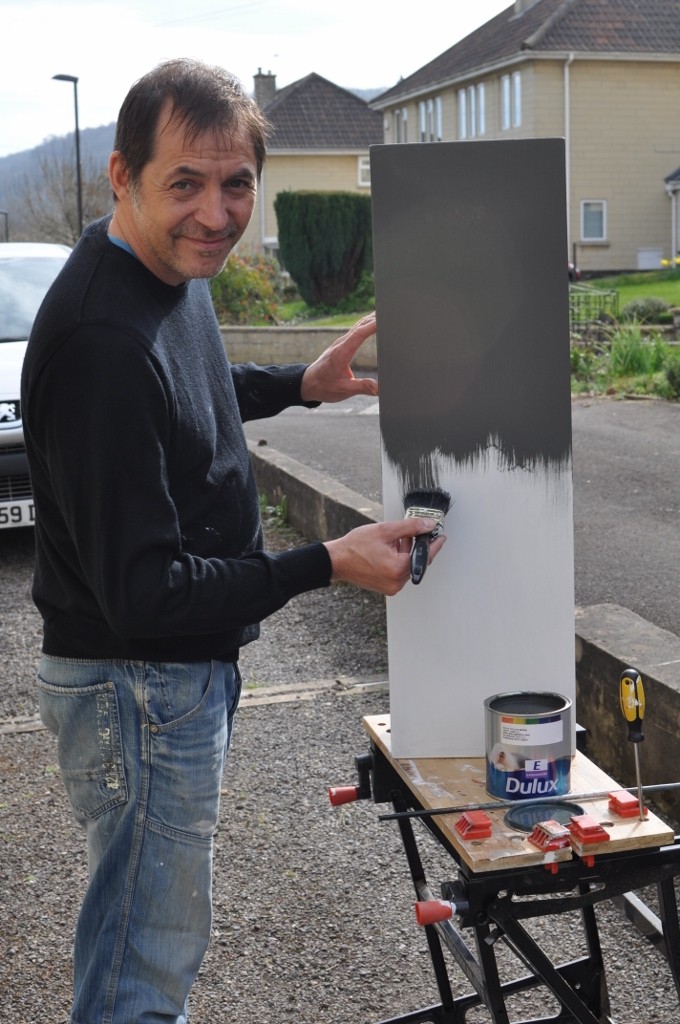
For the finish I used Dulux Woodsheen to give a satin look and feel not dissimilar to that of our doors and architrave. I decided on a dark colour, something I had wanted right from the start of the project and settled on Night Jewels 2 (#5E5E5D).
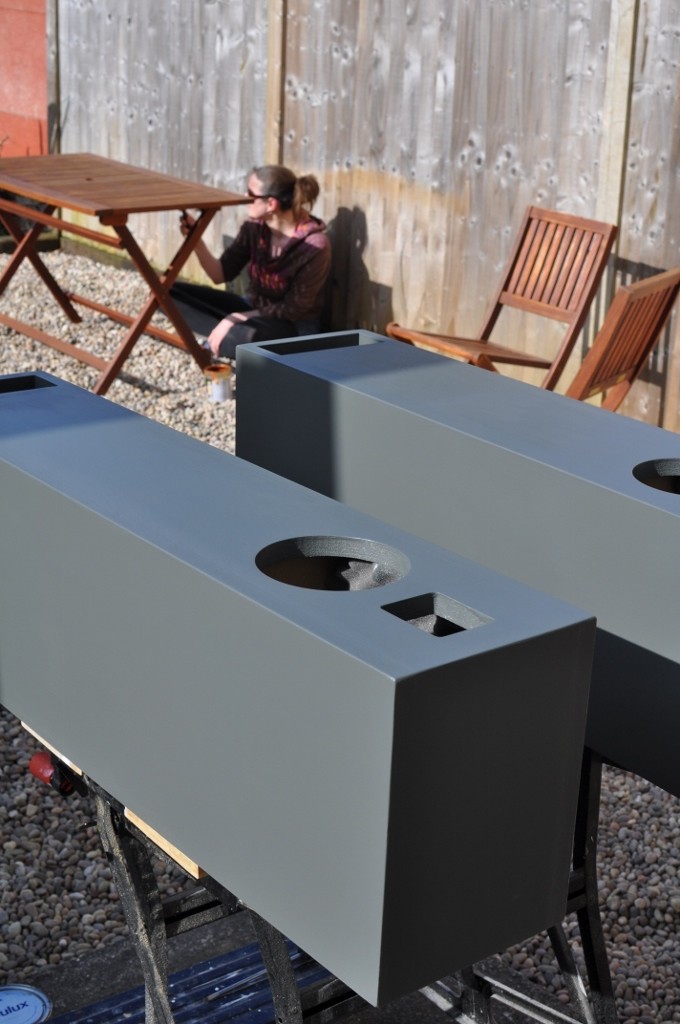
As with the primer I used several coats of the Woodsheen to achieve a deep and pure colour throughout the cabinet. I was really pleased with the results.
-

- Filling any gaps.

-
- Sanding the filler.
-
- Painting with primer.
-
- Cabinets, primed and ready to go.

-
- First coat of paint.
-
- Final coat drying. Mandy painting the garden furniture in the background.
Speaker project build process
- IPL Acoustics M1TLm Ribbon Transmission Line speaker project – Part 6
- IPL Acoustics M1TLm Ribbon Transmission Line speaker project – Part 5
- IPL Acoustics M1TLm Ribbon Transmission Line speaker project – Part 4
- IPL Acoustics M1TLm Ribbon Transmission Line speaker project – Part 3
- IPL Acoustics M1TLm Ribbon Transmission Line speaker project – Part 2
- IPL Acoustics M1TLm Ribbon Transmission Line speaker project – Part 1